
Preschool Activities for Kids
Preschool activities are the best means to teach kids and give them the best foundation to make the best out of life. Here are a few fun and easy activities that you can do with kids.
1. Color Sorting Bags for Toddlers and Preschool

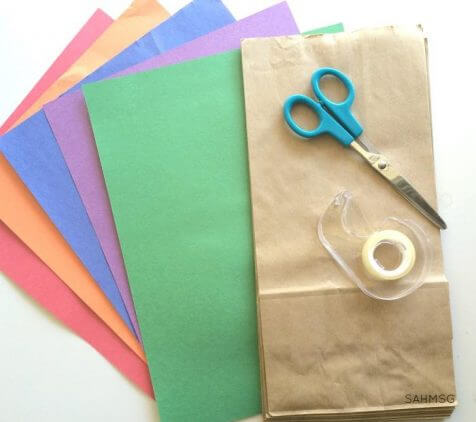
This is a very easy and inexpensive activity. It only needs paper lunch bags, tape, scissors and construction paper. I would guess you have at least two of those supplies at home already.
Step 1
Use 5 different colors of construction paper-you can choose as many or as few as you think your child can handle.
Step 2
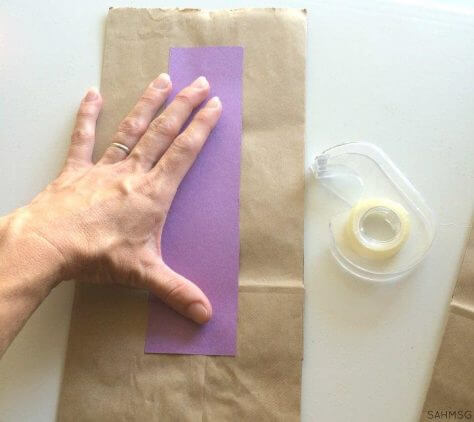
To create the bags for sorting colors, cut a strip off of each piece of colored paper.
Using double stick tape, tape the strip to one side of a paper lunch bag. Then repeated this step to tape all the paper strips to bags.
Step 3
Use umbo blocks, Duplos or even wooden blocks of different colors. Really anything that is multi-colored in your house would work: think socks, Legos, etc.

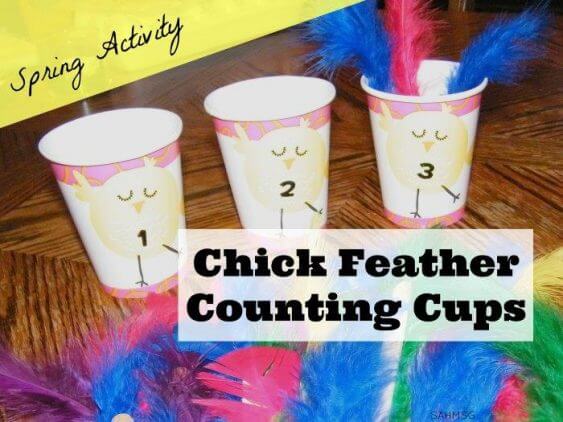
2. Chick Feather Counting Cups
Supplies:
- Easter theme cups or plain paper cups
- number stickers or marker
- craft sticks (optional)
- feathers (you need 55)
- hot glue or tape
Glue one feather onto each craft stick. Use enough feathers so that you can count and place feathers in each cup.
The popsicle sticks give the feathers some weight and make it a little easier for smaller hands and fingers to place the feathers into the cups. (They are completely optional, so if you don’t have them, no worries. You could cut feather shapes out of paper or just use the popsicle sticks on their own too.)
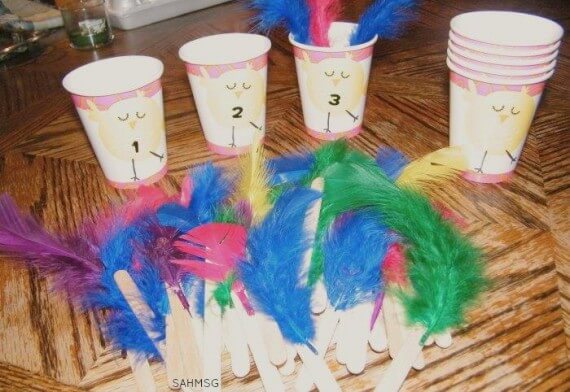
Line up the cups in number order for younger ones, or for older children, put the cups in the wrong order to challenge your child to arrange them.
Count and place the feathers into the ‘chick cups’ so each “chick” has the correct amount of feathers as listed on the cup.
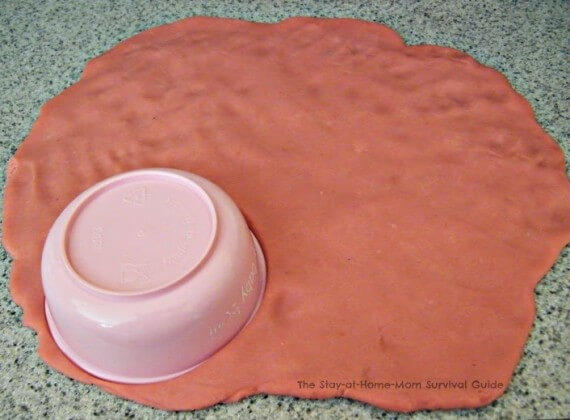
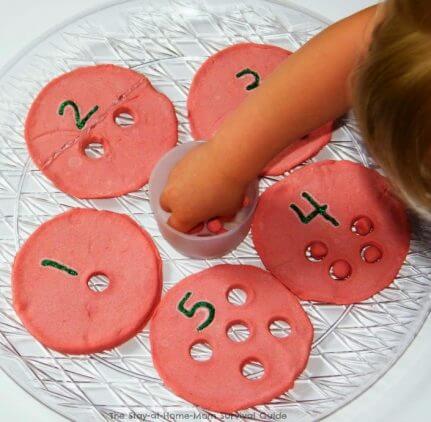
3. Learn to count with play dough
STEP 1–
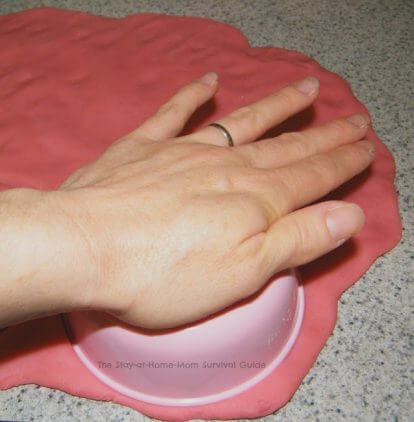
Press out your play dough in one even layer on a flat surface.
STEP 2–
Using a small bowl or biscuit cutter, press out circles in the dough. We made 5.
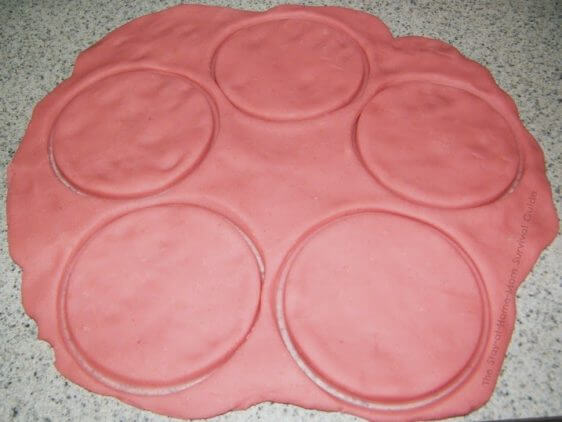
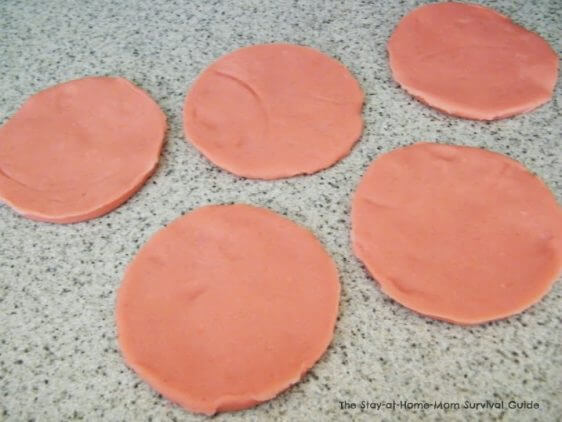
STEP 3–
Separate the cut out circles from the excess play dough. We discarded the excess.
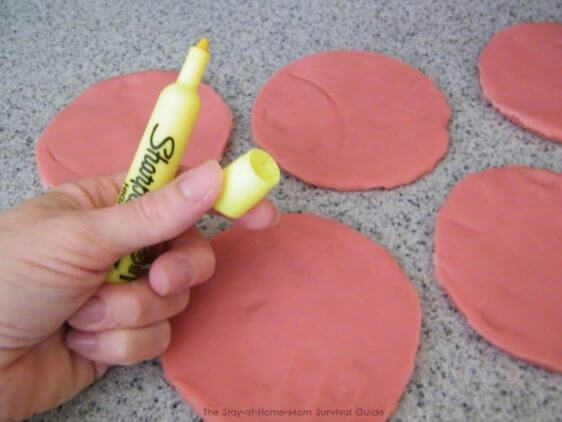
STEP 4–
Using a marker cap or small cookie cutter, cut out small shapes in each circle. Cut 1 from the circle that will be labeled “1” and 2 from the circle that will be labeled “2” and so on.
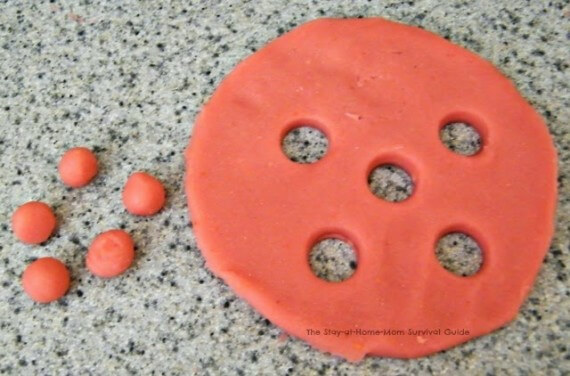
STEP 5–
Roll the small cut out bits into balls as shown. The circle shown will be labeled “5” so there are 5 balls cut out of it.
STEP 6–
Lay the large circles and small balls on a piece of foil to let them dry. I flipped the circles a few times a day so they dried evenly on both sides. Let them dry completely before moving to the next step.

STEP 7–
Using glitter glue or fabric paint, write a number on each circle to correspond to how many small holes were cut out of them. (You can just use a marker too.)
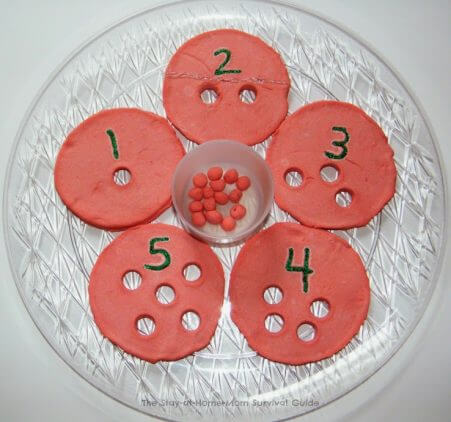
STEP 8–
Place the small balls in a little bowl to keep them from rolling around, and place all the circles on a tray to create a play surface.
STEP 9–
Time to play! Your child says the number and places that many balls into the cutouts in each circle, counting as they place each ball in a hole.
You may need to point to the number and say it to introduce it to your child depending on how much experience with numbers and counting your child has had previously.
4. Activities with Cardboard Tube Apple Trees
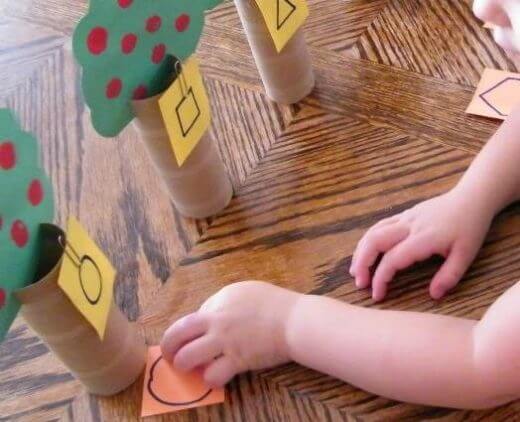
Learning activities with cardboard tube apple trees can be adapted to toddlers, preschoolers, and early elementary aged kids.
Creating the apple trees is an art activity. Simple learning games make these little trees a great prop for learning and play. My older two children each spent time on their specific activity using these cardboard tube apple trees.
Whether your child is working on shapes, basic math, number recognition, or reading skills, this learning activity collection has you covered.
5. Pumpkin puzzles
Supplies:
- (All linked supplies are affiliate links.)
- small pumpkins in a variety of colors (no gourds for this and I will tell you why in a bit)
- a sharp knife (this one works well)
- cutting board (I love these)
- spoon
- tray (we used the tray from this toy)
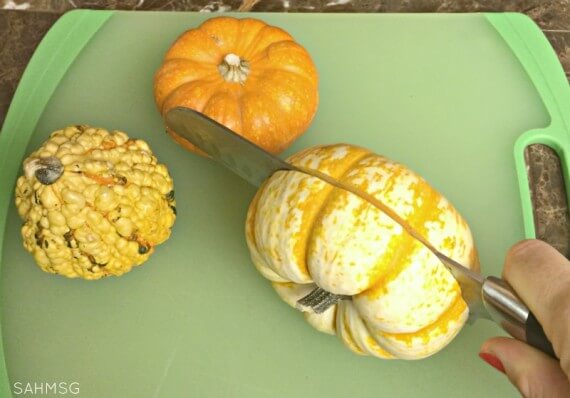
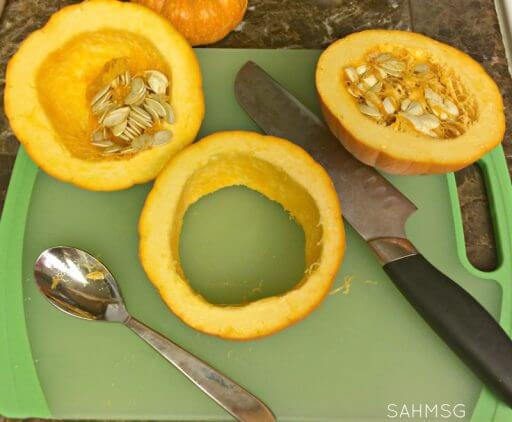
1.) Cut the pumpkins in different ways: Cut 1 in half horizontally as shown in the picture above, cut another vertically like the little white pumpkin in the image below.
You can also cut one of the baking pumpkins into 3 pieces to add more challenge.
2.) Clean out the seeds, if you like, using the spoon to scoop them out. (You can save these for a counting activity I will be sharing next week.) you can leave some seeds in a couple pumpkins for added sensory exploration.
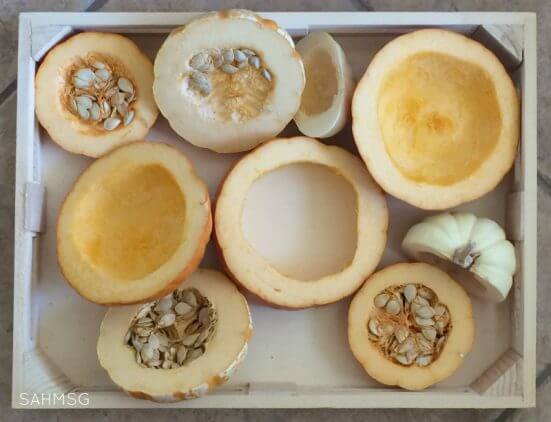
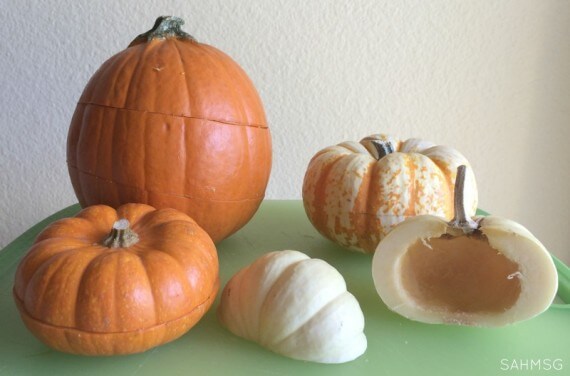
3.) Place the pumpkin pieces on a tray and set it out as an invitation to play.
The kids can put the pieces together based on the shape, size and colour of the pumpkin.


One Comment